Sunday 13 November 2011

Megane III TouchScreen GPS SatNav,iPod,Bluetooth,Reverse Camera etc.

Finished installing our aftermarket 7" Chinese DVD, GPS headunit. The system is CANBUS enabled and works perfectly with steering wheel controls.

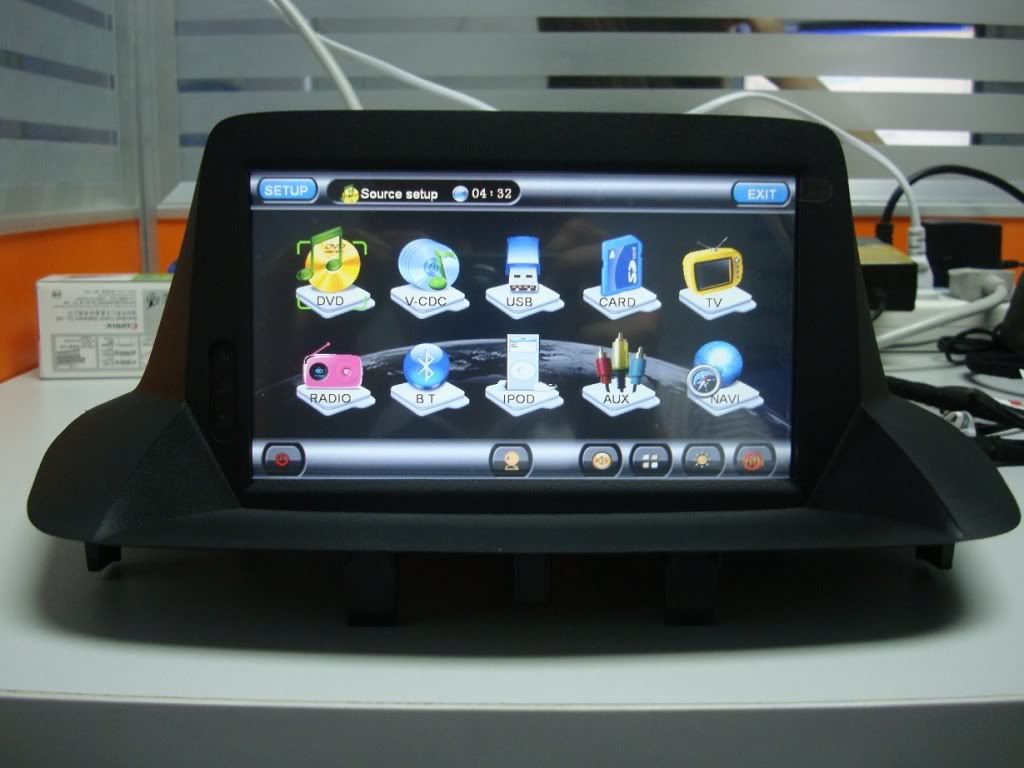
The setup and configuration of the system is as follows:

  • Primo 1.2 with latest maps on SD Card.
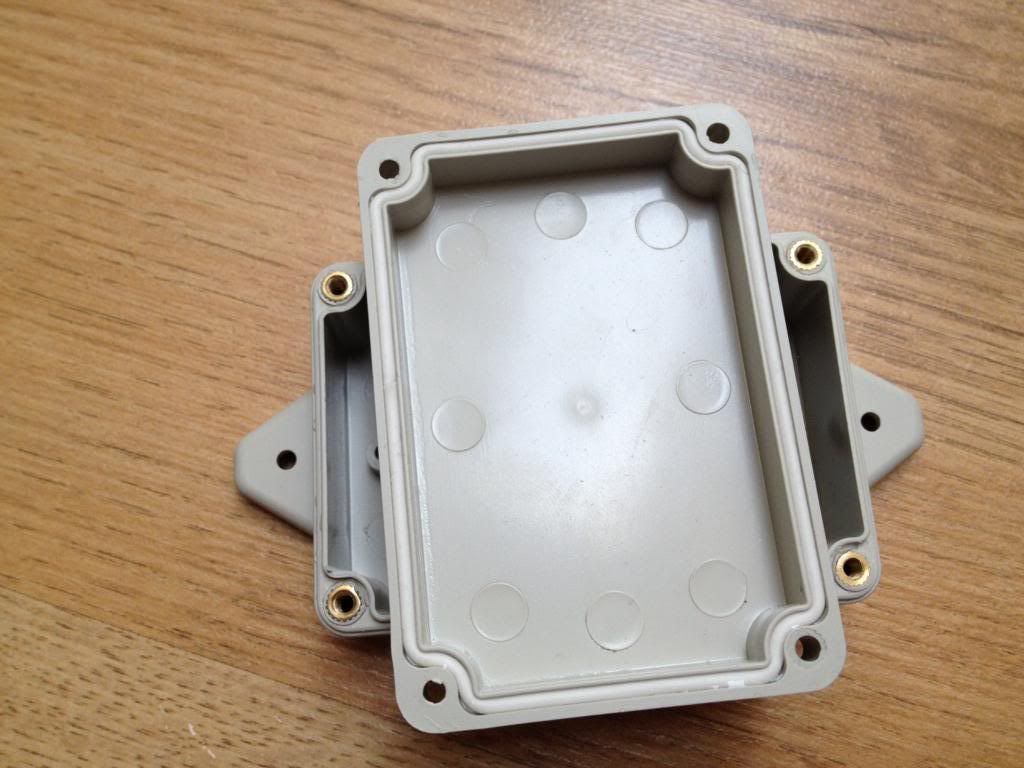
  • Extended auxiliary RCA video & audio input to a surface mounted plate in the glovebox
  • Extended iPod Connector to the glovebox
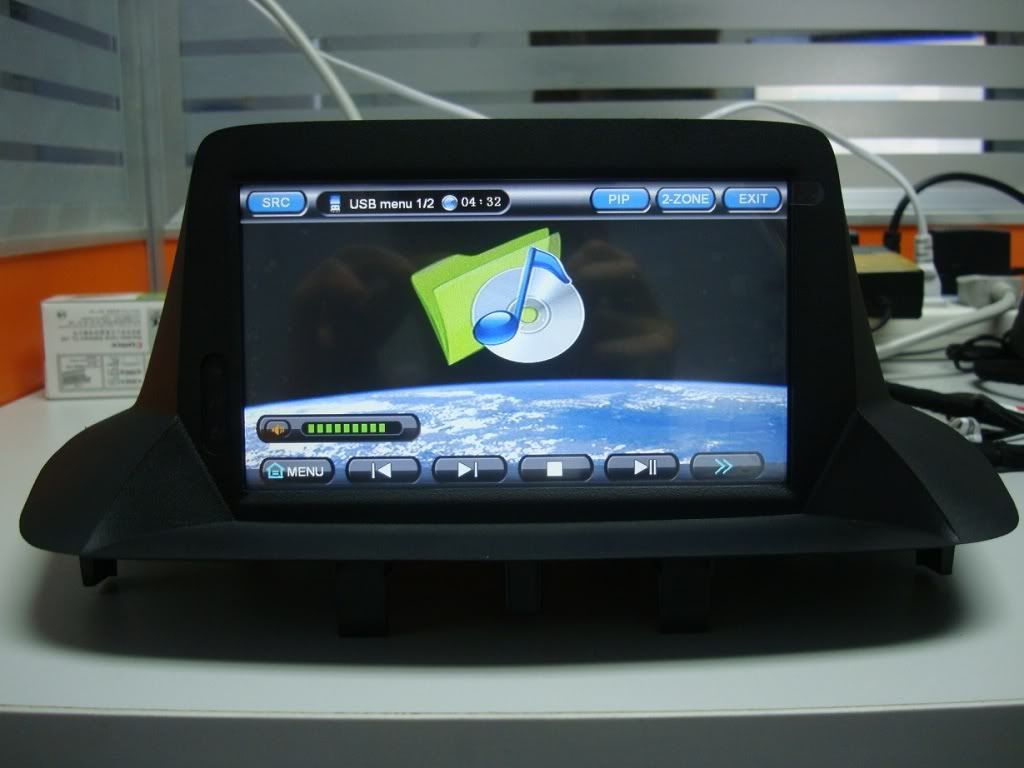
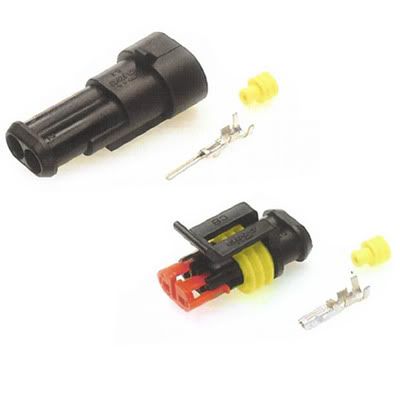
  • Replaced the Standard RCA auxiliary port that came with the car, with a USB port connected to this system
  • Reverse camera (Mounted Flush) wired via a voltage regulator.
  • GPS Antenna concealed inside top of the A pillar lining magnetically mounted to car body
Below are some pics of the system and the setup:

And here is a Spanish youtube video review of the system by Eric Martinez.


Monday 7 November 2011

Painted RenaultSport Body Panels

Today we got all the panels back from the paintshop. In total there were about 27 seperate pieces that were painted. The things that were painted were as follows:

  • 14 RS Bodykit Mouldings
  • 2 Mirror Covers in Gloss Black
  • Rear Bumper Diffuser in Gloss Black
  • 2 Headlamp Washer Covers
  • 2 Rear Parking Sensors
  • Renault Bonnet Badge Mounting Plate
  • Rear Bumper
  • Front Bumper
  • 2 Front Wings
  • Bonnet

We could have brought down the cost of the project a fair amount if we used a cheap paintshop. But at the end of the day you get what you pay for. We did not want to compromise on the paint job. A true quality paint job done the right way is very time consuming. The panels need to be sanded, washed. primed, blocked, then washed again, cleaned with a tack cloth, based, cleared, baked, then color sanded and buffed.

The prep work is the most time-consuming aspect of painting car panels. Because of this, many cheap paint shops skimp on prep work in order to quickly move to the painting process. While a car that was not accurately prepped may look good temporarily, you’ll notice fading and peeling much more quickly than if your car was prepped properly.

For this reason we chose to entrust Kraftwork Vehicle Refinishing of Chelmsford with the job of painting our panels. We've used Kraftwork before and their quality of work is EXCEPTIONAL and very reasonable on price. Davide at Kraftwork is highly knowledgeable and a really nice guy to deal with. I've added a link to Kraftwork Vehicle Refinishing website on the related link section. I would highly recommend their services to anyone looking for bodywork in and around that area.

Here are a few pics of some panels before & after painting: (Click to Enlarge)


Saturday 29 October 2011

Megane RS 250 LED Bumper Lights

The OEM LED bumper DRL units for the Megane RS 250 are quite expensive to buy brand new (around £430 for a pair). I managed to get them brand new for just around £270. In order to power these units you need 2 power supplys which cost a further £400 for a pair plus a few wiring looms which come to around £90. I could not justify spending that kind of money on a power supply and some wires. So I decided to build my own. The OEM loom and power supply is basically CANBUS enabled that allows it to disable the DRL inside the headlamp unit and let the LED DRL's take over.

I wanted my LED DRL's to work exactly like OEM. I wanted to be able to control them via the settings menu that allows you to turn the DRL on/off. I also wanted to be able to use them with the headlights on as fog lights with the fog light switch. So the first thing I did was isolate the DRL circuit that goes into the headlamp. This disabled the entire DRL inside the headlamp housing. Then I built a custom wiring loom and a circuit consisting of a relay, capacitor, diode and a time delay fuse to smooth out the PWM DRL circuit.

Here is a diagram of the custom loom that I built (click to enlarge):

I housed the custom relay circuit in the following weatherproof project box, with rubber cable grommets:


I also used 2 more of these boxes to house the custom built LED power supplys (LED Drivers). I built the LED drivers with 2 way superseal waterproof connectors, so that they can simply plug in and out. The connection from the LED driver to the LED unit is also the same superseal 2 way connector. So everything can be removed if needed. All the connections look like factory fits. In total the custom wiring, circuits and LED drivers, project boxes and connectors all cost me around £30.

Here is a picture of the connectors i used:


And here is a picture of the LED DRL unit:

Sunday 9 October 2011

Halogen to Xenon Headlamps Conversion

I needed to buy a set of replacement Halogen headlamp units for the car. I came across a pair of complete Xenon headlamp units from a donor Megane RS 250. They were being offered at a very good price. They came complete with the bulbs and ballast for £260. A brand new single halogen headlamp costs around that price.

So for those of you considering upgrading to Xenons, here are some details about installing Xenon version headlamps to a non-Xenon Megane III (X95).


If your thinking about whether this is effected by the new MOT laws from 2012 and whether this will become illegal, the official leaflet on the DFT website http://www.dft.gov.uk/vosa/repositor...3-lighting.pdf states in section 1.7
The Department for Transport considers that after-market systems should be required to meet the same safety standards as that applied in respect of these lamps at vehicle Type Approval. Therefore, in order to pass the MOT test, vehicles fitted with after-market HID systems would also need to be fitted with headlamp cleaning and self-levelling systems.
My setup consists of a retro-fit headlamp washer system which works. I will post details about this mod shortly. I will however be working on retro-fitting an auto levelling system in the near future.

The DFT publication also states that:
Where headlamp levelling or cleaning devices are missing or defective, but there is doubt as to whether they are required, the benefit of the doubt should be given and an advisory notice issued.
This statement opens up a whole new chapter in terms of interpretation. If a tester is testing a car that has OEM projector based HID headlamps and correctly functioning headlamp washers and all the beam patterns and everything are fine, then I dont think they will just fail it because it has no self-levelling system.

Back to the topic, here are a few pics of the xenon version projector based headlamp:


The headlamp units are actually a direct replacement. The exisiting wiring harness and connectors all fit and operate the Xenon headlamps. The only thing different is that the Xenon headlamps have the cornering feature which have an additional connector. As the car doesnt have this feature, I didnt have anything to connect to this, so I simply covered with a rubber insert. In the near future I may attempt to get this working using custom wiring.

There is however one small problem with directly swapping a Halogen with a Xenon version. The UCH in the car is programmed for a standard halagon bulb, and after a little while the car detects a problem with the discharge bulbs and will begin to flicker. The reason for this is that the car is sensing a steady current. A ballasts needs are anything but steady. To resolve this I basically added an inline HID anti-flicker decoder to each headlamp unit. It is basicaly a smoothing capacitor in parallel with an inductor. There may however be a way to have the UCH re-programmed to accept HID. The inline decoder works fine for me. If you are going to do this, I would recommend using some weatherproof connectors like the 2-way superseals, and also just as a precaution add a inline fuse. This way, if the decoder ever fails, you can simply remove and replace with another one.

***UPDATE with Complete Photos***


Sunday 7 August 2011

Center Air Vent Wrapped in 3M Di-Noc Brushed Aluminium

***UPDATE*** I decided to paint in gloss black. more info available here

I decided to wrap the center air vent. I've used 3M Di-Noc many times before. This time I decided to try out the Brushed Aluminium version from 3M Di-NOC Series ME-904. I must say the texture is very good. It is not a fake printed wrap, its the real thing. It's very easy to work with and very forgiving. If you make a mistake, take it off and re-apply with heat.

Below is a picture of the new vent.


Also, here is a video showing how to apply the wrap:

Sunday 5 June 2011

Car started up for the first time

Today we started up the car for the first time and test fitted the xenon headlamps. The car started up without any problems on the first go. There were NO warning lights whatsoever on the dash :)

Here is a short video of the car being started and the xenon lamps being tested out.


Monday 23 May 2011

New engine loom and components

Today we worked on finishing up the engine bay work. The work involved the following:

  • Replaced cracked engine manifold
  • Replaced cracked thermostat housing
  • Replaced damaged hoses in the cooling system
  • Replaced cracked A/C hose pipe
  • Installed new engine wiring loom
  • Replaced TDC sensor, new version available with the modified Engine Loom
  • Bled the Clutch Circuit
  • Installed a second-had Airbox from a donor car that had only done 100miles
  • Replaced fuse boxes and all electronic components in engine bay
  • Installed a replacement Battery Tray
  • Installed second-hand engine fan and Front panel
  • Installed second-hand Radiator
  • Installed second-hand condensor
  • Installed cross-member
  • Cleaned out coolant circuit with water and compressed air
  • Re-filled coolant and bled the system

We now need to get the fuel drained out as a precaution. We're not sure how long the fuel has been sitting in the car and chances are it may be contaminated. We also need to install a new battery and see if the car works for the first time. A bit nervous but confident. I've booked in a company called Fuel Drain to drain the fuel next week. I will buy a battery and install it after the fuel has been drained and replaced with new fuel. I have added the link to Fuel Drain on the related links section.

Below are some pics of the engine bay area work we completed today:


Wednesday 20 April 2011

Jig & Alignment work completed

Today the Jig and frame alignment work was completed by Gary Lee PanelCraft of Rainham Essex.

The work that has been carried out and completed so far are:
  • Jig & Alignment
  • Replacement Chassis Leg and welding parts
  • New upper engine mount
  • Replacement Clutch Slave Cylinder
  • Replacement Clutch Hose Pipe

Garry and his team at Garry Lee Panelcraft were very friendly and provided and excellent service. I would highly recommend his services. I have added a link to his website on the Related Links section.

Here are a few pics of the car completed and heading back home from Garry Lee Panelcraft. My DIY project now begins :)


Saturday 9 April 2011

front damage assessment

Today, me and the misses began the work of removing the damaged front parts to do a front damage assessment and make a plan.

We documented and bagged all the bolts, screws, clips and other usable parts.

To get the car back up and running, the following work is needed:

  • Jig & Frame Alignment Work
  • Replacement N/S Chassis Leg
  • Replacement N/S front driveshaft
  • Replacement Clutch Slave Cylinder
  • New engine wiring loom
  • Replacement of all electronic parts on the N/S
  • Replacement Radiator Hoses
  • Replacement Thermostat housing
  • Replacement A/C pipe
  • Repalcement Cooling Fan
  • Replacement Radiator
  • Replacement Condenser
  • Replacement Engine Manifold
  • Replacement Front Panel
  • Replacement Cross Member
  • Replacement Bodywork (RS body panels)

Here are some pics of the front parts being removed for damage assessment:


Sunday 3 April 2011

Welcome - Intro to the Blog

Welcome to our Blog.

I came across an accident damaged Renault Megane III Coupe with 5.7k miles on the clock (World Series Edition) in Glacier White colour. It had the specs we were after, but had sustained extensive damage. The price was good that I could buy it and take on a DIY project to repair it as a RenaultSport REPLICA. And even after the repair the cost would be cheaper than a standard Megane III Coupe.

Please read the Introduction section for more details on this project.

The car has sustained major damage to the electrical area so 80% of the electronics do not work. And of course this also means it does not start :)

So we purchased the car and here are a few pics of it: